I’m obviously late to the party but I’ve been hooked on to Visual Studio Code both as an editor and a complete IDE for developing .NET Core Applications and all I can say about Visual Studio Code and .NET core is that I am loving everything I see.
Getting up and running with .NET Console applications is really easy with Visual Studio Code and something I'll probably cover in a different post. This post is focused more around building and debugging ASP.NET Core applications using Visual Studio Code. In the posts to come we will build a simple real life application using .NET core and Visual Studio code.
I recently needed a simple application where I can store excerpts from various books and research papers I read for future reference and so that's the project I'm going to work on for the purposes of these posts. The code that we build during this series will eventually be open sourced and posted on GitHub.
In this post we get started with a simple ASP.NET Core project using Yeoman and the .NET Core CLI and we will then debug it using Visual Studio Code. Why do all this when we can build the same application using Visual Studio 2015? Even though we will build this application in Windows we want the toolset and code to be portable so that we can easily move to Linux or Mac and start developing there whenever we feel the need to do so; which is why we won’t use anything that we cannot use in a Linux or a Mac environment.
In fact, once we get through a couple of posts, we will actually move to a Linux machine and start developing there.
Let’s start by creating an ASP.NET Core app and setting up the debugging using Visual Studio Code. You can of course do this using two ways:
Approach #1: The .Net Core CLI:
This is probably the simplest and provides you with a nice clean ASP.NET Core application. Pretty similar to doing “File / New / Web Application” in Visual Studio if you happen to be a Visual Studio developer in the past. Some folks may love this because it’s straight forward. Others may not like it because it bundles a bunch of things (like the Entity Framework, Membership and stuff you may not even be interested in using). Plus as of now, it doesn’t seem to integrate things like bower out of the box (more on this later). However, if you are looking to get up and running with a simple ASP.NET Core app up and running quickly you can start a command prompt window, go to the folder you want to create the project in and do:
dotnet new -t Web
This creates a simple Web Application project. To fetch all the dependencies the project needs you would have to do a:
dotnet restore
And to run the project (which also builds it automatically) you would do:
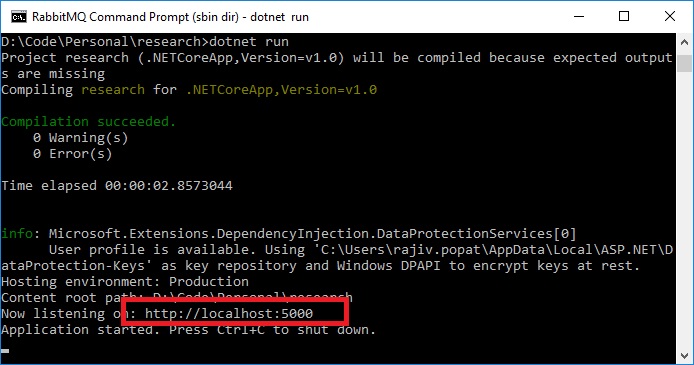
dotnet run
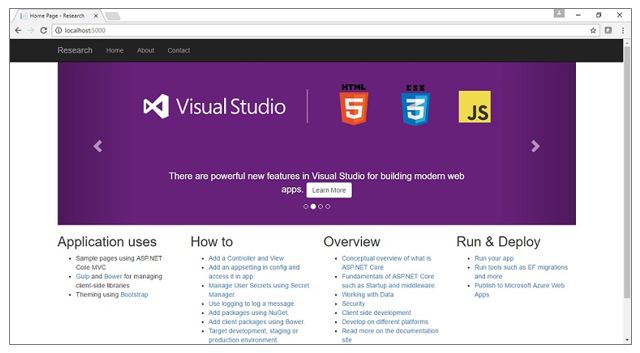
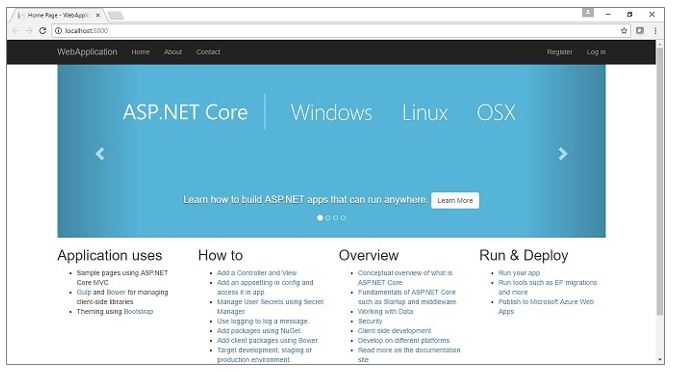
This would start the development web server and host the application which means you can now access it using http://localhost:5000:
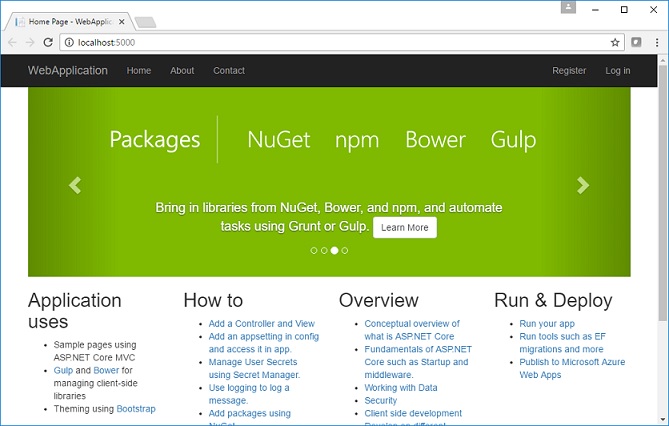
And if you open your browser and hit the URL you have the application running:
We’ll come to the debugging part in a minute. Of course if you are not happy with a bunch of extra things that were added to your environment you can of course get more control over the templates that you use for stubbing out your application using Yeoman, which of course brings us to the second way of stubbing out your ASP.NET core applications.
Apporach #2: Yeoman Templates:
You will have to install Yeoman before you begin with this, which of course would mean installing NPM (and the simplest way of doing that is installing Node JS). Yeoman also fetches your Javascript files and files like the bootstrap.css from the right locations using Bower. So you are better off installing bower up front before you proceed.
Once you have Yeoman installed you can do a:
yo aspnet
From your command prompt once you are in the folder where you would like to create the project. Yeoman of course gives you larger control over the project you stub out by letting you pick from a host of templates that you can use (which would in turn decide which dependencies get installed):
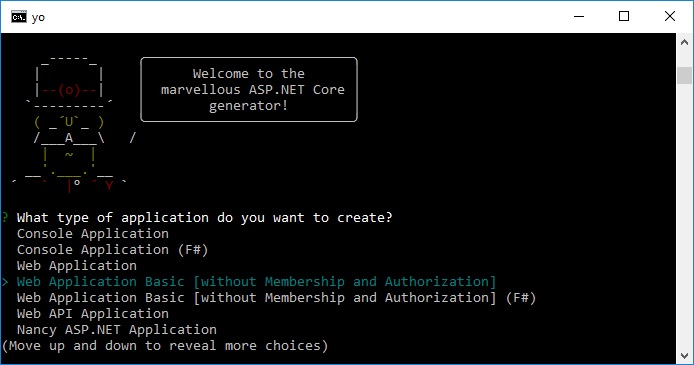
In the above sample / screenshot we have an option of picking from different templates. We can pick a basic web application without Membership and Authorization OR just “Web application” which has everything (including membership and authorization pre-configured). Of course with this I also get to pick between the UI framework that I would like to use for my project:
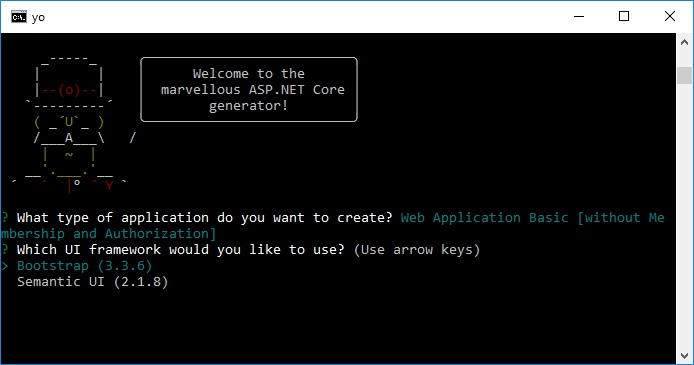
In the above example I’m going Bootstrap. Once done you would specify the name of the project and once that is done you can go ahead with::
cd research
dotnet restore
dotnet run
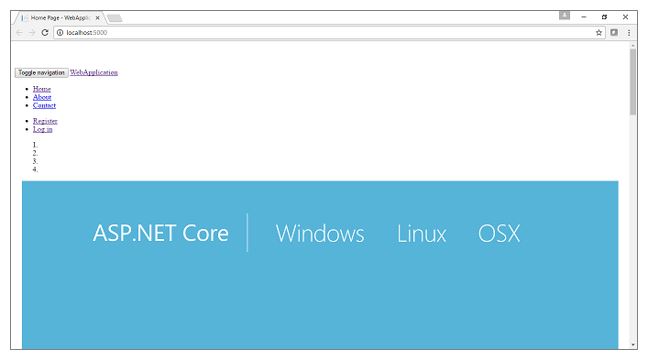
In the above command we switched to research folder because yo command creates a folder with your project name. Once you run the code with ‘dotnet run’ You get a similar application this time as you did with .NET CLI only this time around you don’t see the Login link on the top right corner of application:
Now that we have the application up and running (with both .NET CLI / Yeoman, depending on what you pick), let’s get to debugging it using Visual Studio Code.
Debugging Using Visual Studio Code:
The more I use Visual Studio Code the more I seem to like it. It’s light. It’s elegant. Works on multiple platforms and what I love about it is the ecosystem of plugins that turn a lighting fast editor into a full blown IDE! If you don’t have the IDE, grab a copy from here and install it on your machine. Now from the command prompt you can navigate to your project folder and type a “code .” (without the quotes) and you should see your project open. The “.” of course, stands for the current folder and in Visual Studio Code you don’t work with projects / solutions, you open specific folders. Which means if opening the project from command prompt doesn’t make sense to you, you can open Visual Studio Code and Open a Folder from File / Open menu. The moment you open the codebase in Visual Studio Code, it looks for required assets and asks you if it should import those. Click on Yes.
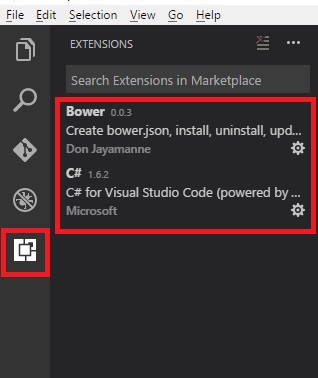
Like I said before, it’s the plugins that turn this code editor into a powerful IDE. I’ve jumped to the plugins tab, searched for and have grabbed the the following plugins I need to get started:
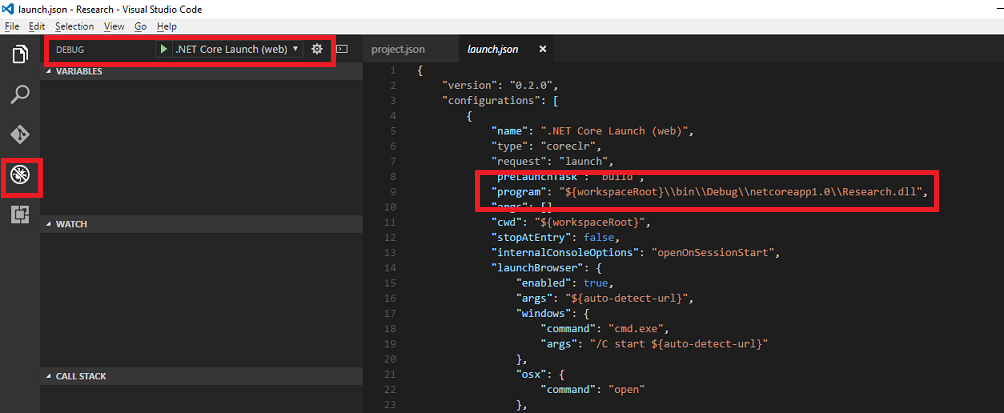
At this time if you were using Yeoman and had bower properly installed Your Launch.json should have the following value correctly set and you should be able to debug your application using debug tab and selecting “.NET Core Launch (Web)” from the debug type drop down and hitting the play button of the familiar F5 key:
If you started with .NET CLI tools (instead of Yeoman), you may not automatically get all bower dependencies configured in your bower.json file like Bootstrap and JQuery. So when you run the project with “dotnet run” it runs fine but when you Debug using Visual Studio Code so see things like Bootstrap and JQuery aren’t properly imported and you see your application looks like this (and the Javascript functions inside the application don’t work either):
This is where is pays to understand how Bower really works and how these templates are generated. The reason why your application runs fine when you execute it using “Dotnet Run” and doesn’t when you execute it using Visual Studio Code is that both (Dotnet Run / Visual Studio Code debugging) execute the applications in different modes. While “DotNet Run” executes the application in production mode, Visual Studio Code runs it in debug / development mode.
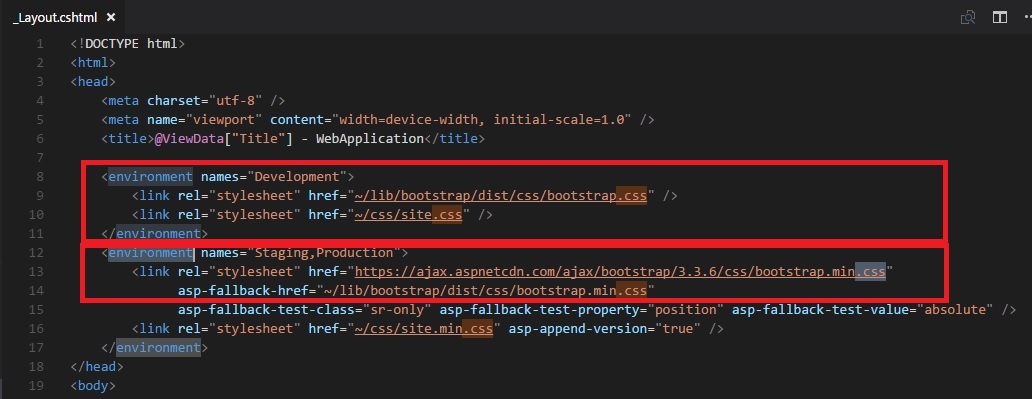
If you open your _layout.cshtml file you would notice that the template has generated a layout file that picks up bootstrap, Jquery and other dependencies from “~/lib” folder for Development environment and directly from ASP Net live CDN in case of production and staging environments. Since we are running in Development environment when debugging from Visual Studio Code we need the dependencies to be present in the “~/lib” folder.
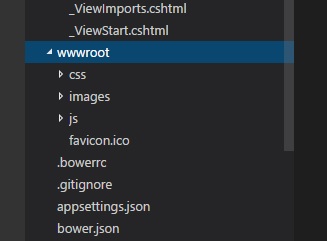
If you check the wwwroot folder however you’ll see that the lib folder is missing:
To get the dependencies in the right folder we’ll use Bower to download the dependencies in the right folder. Where bower downloads the dependencies is defined in “.bowerrc” file:
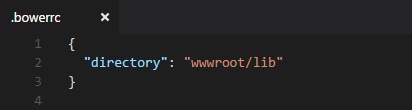
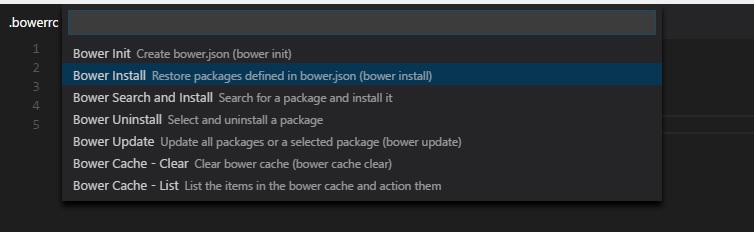
And as the above picture shows our .bowerrc file does have the right location. We also have the bower plugin installed. So Let’s hit CTRL + P and Type “> Bower” in the search bar that pops up:
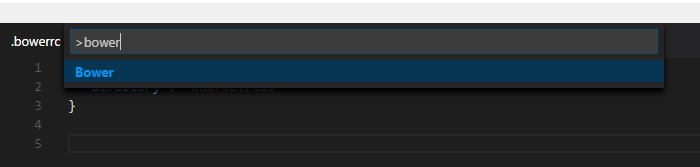
Now you get a list of bower commands from which you can select Bower Install and hit enter:
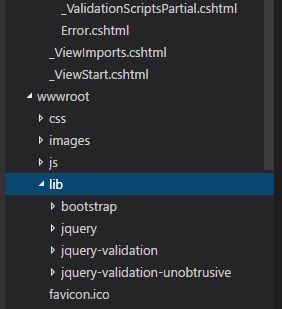
The moment you do bower should grab all required dependencies for you and you should now see a new lib folder with the right dependencies:
And you are also able to debug the application properly now with Bootstrap, Javascript and other dependencies working fine:
Personally, I like Yeoman primarily because it provides a larger choice of templates and runs the “bower install” command pretty much automatically (assuming you have bower installed) but both .NET Core CLI and Yeoman should help you get started quickly with your first ASP.NET Core application. Both work across platforms and which one (Dotnet CLI / Yeoman) you use is just a matter of which templates you prefer.
As far a Visual Studio Code is concerned I love it. While Visual Studio 2015 Professional versions manage some of these tasks out of the box, Visual Studio Code is really nice because for me it hits the fine spot between showing me what’s happening under the hood at the same time keeping me sufficiently productive. This post covers two ways of getting up and running with an ASP.NET core project and you can use either of the two and all it takes us is a minute to get started with the setup and debugging on a new ASP.NET core project using Visual Studio Code.
In the next post we’ll get started with the actual application using ASP.NET Core where we will be creating a simple application where you can store experts from various books and research papers that you might be reading for future reference. As the series of posts proceeds I’ll dump the code on GitHub and also try and host it using the cheapest most scalable cloud options.
Comments are closed.